An apparel gift box is the first physical thing your customer touches and the last thing they photograph. Get it right and it does marketing duty for years; get it wrong and a beautiful garment arrives creased in a cavernous carton. This guide walks the decisions that matter: style, size, board, finish, and the mistakes that quietly cost brands money.
A note before the styles: nearly every apparel-box failure we inspect traces back to one number — the folded stack height — being guessed instead of measured. Everything below assumes you own a tape measure and fifteen minutes.
Why the box is part of the product
Clothing buys are emotional before they are practical. The unboxing moment — lid lift, tissue crackle, printed interior reveal — is where a purchase becomes a brand memory. Retailers know this; so do resale markets, where complete boxed sets hold value. Your packaging is not overhead. It is the cheapest retail space you will ever own.
The four styles that cover most apparel programs
Two-piece rigid (setup) boxes
Base plus lid, thick greyboard, the classic luxury feel. Best for: gift sets, limited editions, premium knitwear. Heaviest and bulkiest of the four — factor storage and DIM weight if you ship them filled.
Magnetic-closure rigid boxes
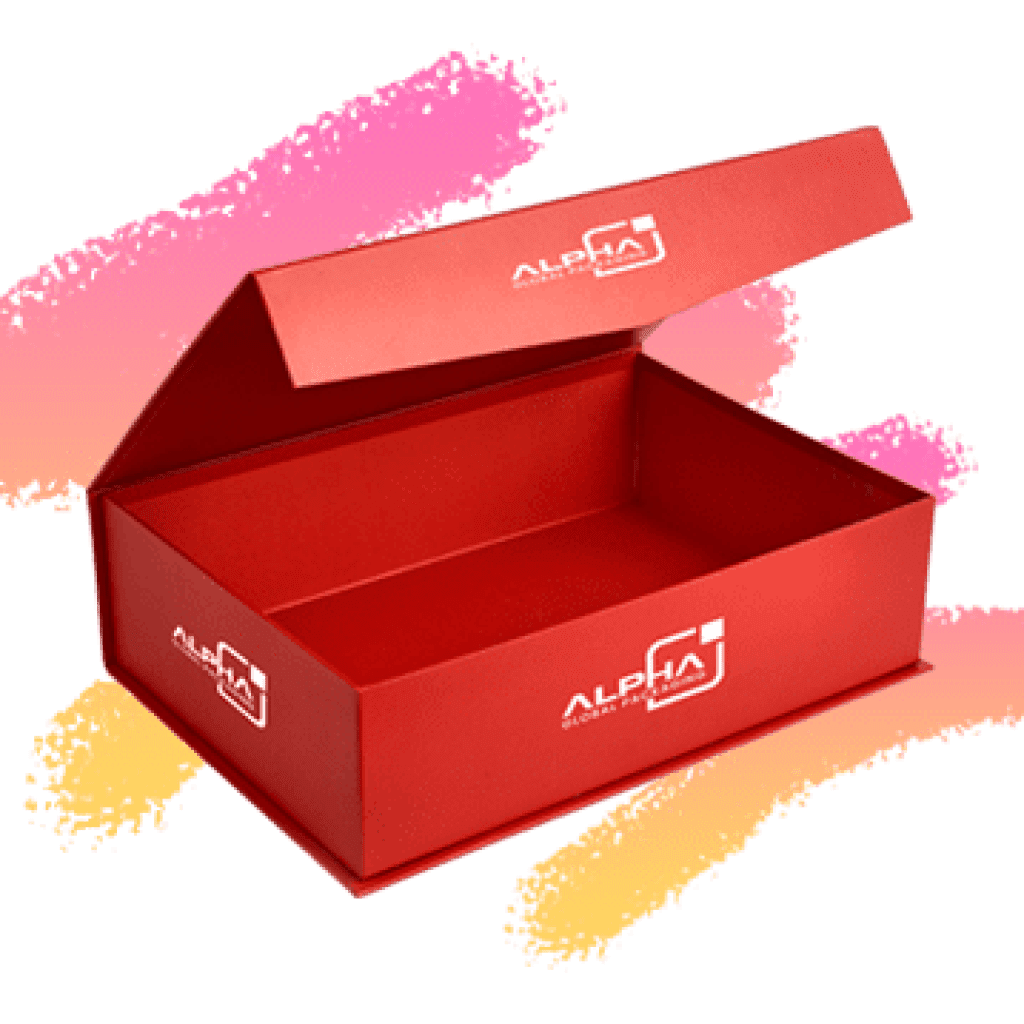
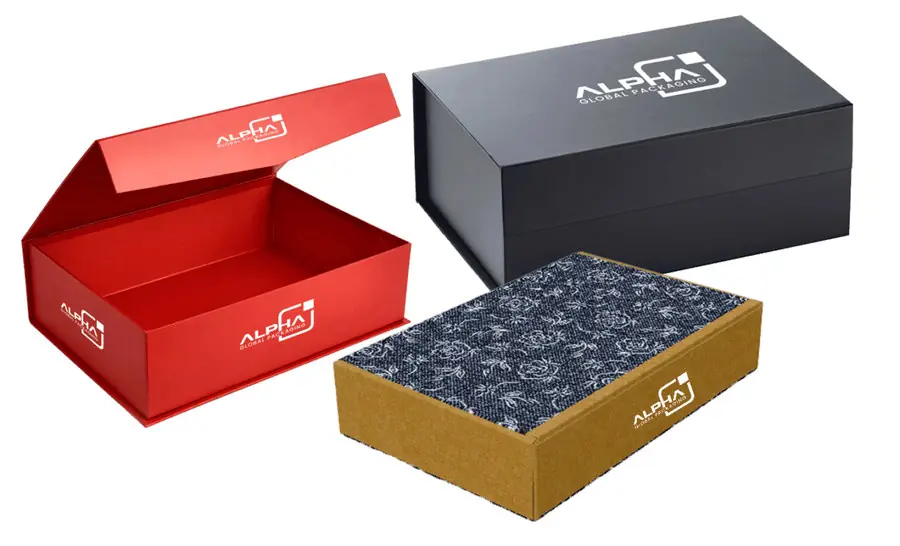
One-piece wrap with a hidden magnetic flap; opens like a book, presents like a display. Best for: direct-to-consumer premium drops and influencer kits. See magnetic closure rigid boxes for the format in production.
Mailer box with printed interior
Corrugated, self-locking, ships as its own outer. Best for: ecommerce fulfillment where the gift box IS the shipping box — one package, one DIM profile, no void. The workhorse of modern apparel DTC.
Tuck-end carton with sleeve
Lightweight folding carton slipped inside a printed sleeve. Best for: accessories, socks, scarves, and shelf retail where sleeve slide-out is part of the display.
Sizing folded garments without guessing
The rule we spec by: measure the folded stack, then add roughly a quarter inch per side for tissue and handling — enough to slide in without forcing, tight enough that nothing shifts in transit. Start points by garment (folded, approximate — always measure your own):
| Garment (folded) | Typical stack footprint | Box interior starting point |
|---|---|---|
| T-shirt / tee | 9 x 7 x 1.5 in | 9.5 x 7.5 x 2 in |
| Hoodie / sweatshirt | 11 x 9 x 2.5 in | 11.5 x 9.5 x 3 in |
| Dress shirt | 10 x 8 x 2 in | 10.5 x 8.5 x 2.5 in |
| Denim / trousers | 11 x 9 x 2 in | 11.5 x 9.5 x 2.5 in |
Two failure modes show up again and again. Oversized boxes: the garment rattles, creases at the corners, and you pay dimensional weight for the privilege (see our dimensional weight explainer for why that hurts). Undersized boxes: forced folds leave pressure creases exactly where the customer looks first. Quarter-inch tolerance avoids both.
Board, finish and the details that get photographed
Rigid boxes live or die on greyboard caliper — thin board feels cheap in the hand no matter how good the print is. Finishes do differentiated work: soft-touch laminate reads premium and hides fingerprints; foil stamping catches light in unboxing videos; matte litho keeps colors honest. And the interior is prime real estate: inside-lid print, branded tissue, a stamped insert card. Cameras point down into an open box; design for that angle.
Protection versus presentation
Apparel rarely needs cushioning; it needs constraint. Tissue wrap stops scuffing, a fitted insert or belly band stops movement, and a well-sized box does both jobs at once. Skip loose fill — it adds cube, costs DIM weight, and reads as waste in an unboxing.
Mistakes we see most often
- Specifying from garment size labels (S/M/L) instead of folded measurements — brands vary wildly.
- Forgetting the tissue layer in the tolerance, then forcing lids.
- Choosing a finish on screen instead of on a physical sample under store lighting.
- Ignoring the ship-as-its-own-outer option and double-boxing premium mailers.
- Leaving the interior bare — the cheapest branding surface in the package, unused.
How to spec it (and prove it) before ordering
Fold three representative garments per size run, measure the stacks, add your quarter inch, and request physical samples in that interior size with your chosen board and finish. Wear them for a week: open, close, pack, unpack, drop once from desk height. Samples are where specs meet reality — sample kits exist precisely for this step. If you need help translating measurements into a dieline, the design team can turn folded-stack numbers into production artwork.
Quick answers
Rigid or mailer for DTC? If the box ships filled, mailer-with-interior-print usually wins on cost and DIM. If it gifts in-store or rides inside an outer, rigid wins on feel.
Minimum aesthetic upgrade? Inside-lid print plus one finish change (soft-touch or foil) — maximum perceived value per unit cost.
Window or no window? For apparel, rarely: fabric needs constraint and mystery sells better than a peek panel.
Where to see formats? The apparel gift boxes range and custom clothing packaging lines cover the four styles above with real production specs.
A great apparel box is a sizing decision before it is a design decision. Measure the fold, tolerate the tissue, constrain the garment, and let the finish tell the story — the unboxing videos will do the rest.